Pictures · The Warrior King (181)
Back to the cover
PDFs
Posters
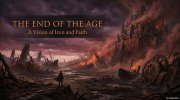 Scene 1 from Chapter 1: Iron City. This illustration depicts key spiritual events described in the text.
Chapter 1 Iron City Image 1
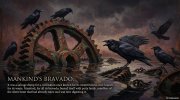 Scene 2 from Chapter 1: Iron City. This illustration depicts key spiritual events described in the text.
Chapter 1 Iron City Image 2
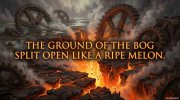 Scene 3 from Chapter 1: Iron City. This illustration depicts key spiritual events described in the text.
Chapter 1 Iron City Image 3
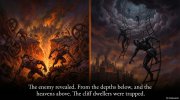 Scene 4 from Chapter 1: Iron City. This illustration depicts key spiritual events described in the text.
Chapter 1 Iron City Image 4
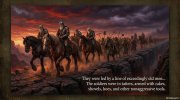 Scene 5 from Chapter 1: Iron City. This illustration depicts key spiritual events described in the text.
Chapter 1 Iron City Image 5
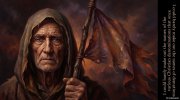 Scene 6 from Chapter 1: Iron City. This illustration depicts key spiritual events described in the text.
Chapter 1 Iron City Image 6
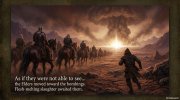 Scene 7 from Chapter 1: Iron City. This illustration depicts key spiritual events described in the text.
Chapter 1 Iron City Image 7
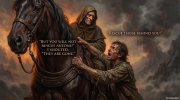 Scene 8 from Chapter 1: Iron City. This illustration depicts key spiritual events described in the text.
Chapter 1 Iron City Image 8
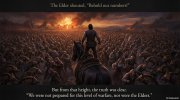 Scene 9 from Chapter 1: Iron City. This illustration depicts key spiritual events described in the text.
Chapter 1 Iron City Image 9
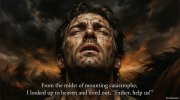 Scene 10 from Chapter 1: Iron City. This illustration depicts key spiritual events described in the text.
Chapter 1 Iron City Image 10
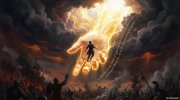 Scene 11 from Chapter 1: Iron City. This illustration depicts key spiritual events described in the text.
Chapter 1 Iron City Image 11
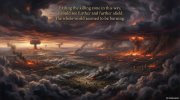 Scene 12 from Chapter 1: Iron City. This illustration depicts key spiritual events described in the text.
Chapter 1 Iron City Image 12
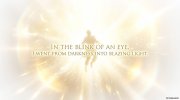 Scene 13 from Chapter 1: Iron City. This illustration depicts key spiritual events described in the text.
Chapter 1 Iron City Image 13
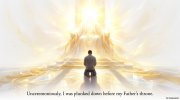 Scene 14 from Chapter 1: Iron City. This illustration depicts key spiritual events described in the text.
Chapter 1 Iron City Image 14
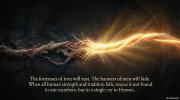 Scene 15 from Chapter 1: Iron City. This illustration depicts key spiritual events described in the text.
Chapter 1 Iron City Image 15
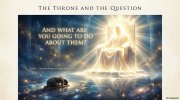 Scene 1 from Chapter 2: The Commission. This illustration depicts key spiritual events described in the text.
Chapter 2 The Commission Image 1
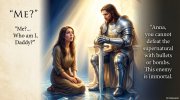 Scene 2 from Chapter 2: The Commission. This illustration depicts key spiritual events described in the text.
Chapter 2 The Commission Image 2
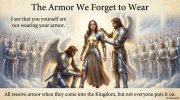 Scene 3 from Chapter 2: The Commission. This illustration depicts key spiritual events described in the text.
Chapter 2 The Commission Image 3
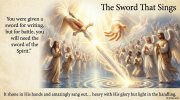 Scene 4 from Chapter 2: The Commission. This illustration depicts key spiritual events described in the text.
Chapter 2 The Commission Image 4
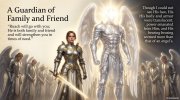 Scene 5 from Chapter 2: The Commission. This illustration depicts key spiritual events described in the text.
Chapter 2 The Commission Image 5
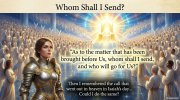 Scene 6 from Chapter 2: The Commission. This illustration depicts key spiritual events described in the text.
Chapter 2 The Commission Image 6
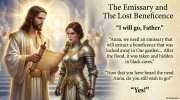 Scene 7 from Chapter 2: The Commission. This illustration depicts key spiritual events described in the text.
Chapter 2 The Commission Image 7
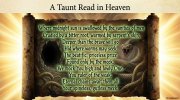 Scene 8 from Chapter 2: The Commission. This illustration depicts key spiritual events described in the text.
Chapter 2 The Commission Image 8
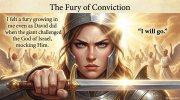 Scene 9 from Chapter 2: The Commission. This illustration depicts key spiritual events described in the text.
Chapter 2 The Commission Image 9
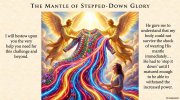 Scene 10 from Chapter 2: The Commission. This illustration depicts key spiritual events described in the text.
Chapter 2 The Commission Image 10
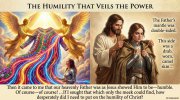 Scene 11 from Chapter 2: The Commission. This illustration depicts key spiritual events described in the text.
Chapter 2 The Commission Image 11
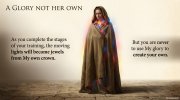 Scene 12 from Chapter 2: The Commission. This illustration depicts key spiritual events described in the text.
Chapter 2 The Commission Image 12
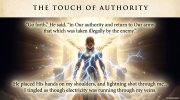 Scene 13 from Chapter 2: The Commission. This illustration depicts key spiritual events described in the text.
Chapter 2 The Commission Image 13
 Scene 14 from Chapter 2: The Commission. This illustration depicts key spiritual events described in the text.
Chapter 2 The Commission Image 14
 Scene 1 from Chapter 3: The Tree That Grows Out of Hell. This illustration depicts key spiritual events described in the text.
Chapter 3 The Tree That Grows Out of Hell Image 1
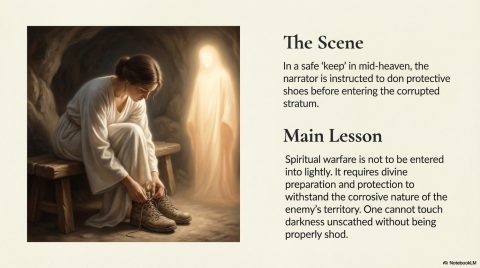 Scene 2 from Chapter 3: The Tree That Grows Out of Hell. This illustration depicts key spiritual events described in the text.
Chapter 3 The Tree That Grows Out of Hell Image 2
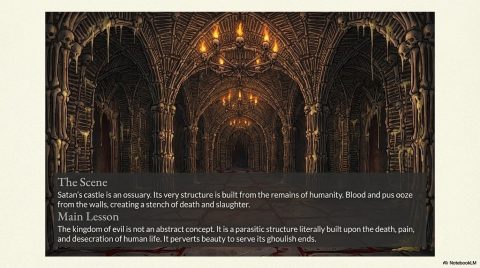 Scene 3 from Chapter 3: The Tree That Grows Out of Hell. This illustration depicts key spiritual events described in the text.
Chapter 3 The Tree That Grows Out of Hell Image 3
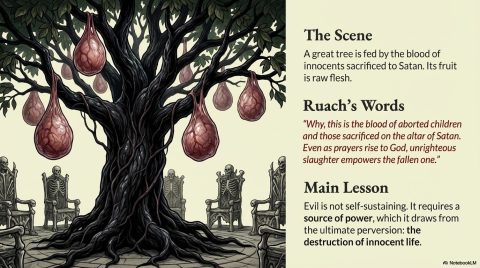 Scene 4 from Chapter 3: The Tree That Grows Out of Hell. This illustration depicts key spiritual events described in the text.
Chapter 3 The Tree That Grows Out of Hell Image 4
 Scene 5 from Chapter 3: The Tree That Grows Out of Hell. This illustration depicts key spiritual events described in the text.
Chapter 3 The Tree That Grows Out of Hell Image 5
 Scene 6 from Chapter 3: The Tree That Grows Out of Hell. This illustration depicts key spiritual events described in the text.
Chapter 3 The Tree That Grows Out of Hell Image 6
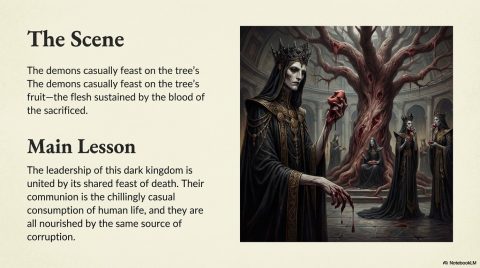 Scene 7 from Chapter 3: The Tree That Grows Out of Hell. This illustration depicts key spiritual events described in the text.
Chapter 3 The Tree That Grows Out of Hell Image 7
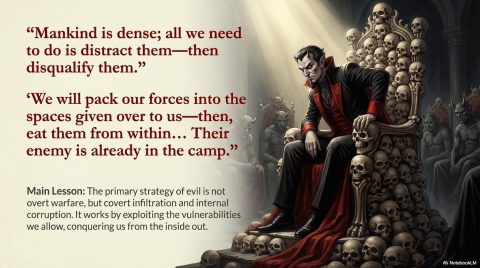 Scene 8 from Chapter 3: The Tree That Grows Out of Hell. This illustration depicts key spiritual events described in the text.
Chapter 3 The Tree That Grows Out of Hell Image 8
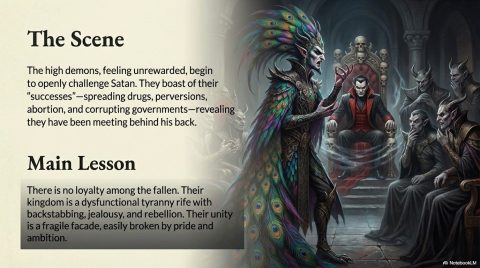 Scene 9 from Chapter 3: The Tree That Grows Out of Hell. This illustration depicts key spiritual events described in the text.
Chapter 3 The Tree That Grows Out of Hell Image 9
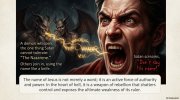 Scene 10 from Chapter 3: The Tree That Grows Out of Hell. This illustration depicts key spiritual events described in the text.
Chapter 3 The Tree That Grows Out of Hell Image 10
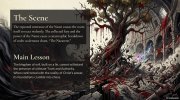 Scene 11 from Chapter 3: The Tree That Grows Out of Hell. This illustration depicts key spiritual events described in the text.
Chapter 3 The Tree That Grows Out of Hell Image 11
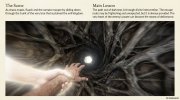 Scene 12 from Chapter 3: The Tree That Grows Out of Hell. This illustration depicts key spiritual events described in the text.
Chapter 3 The Tree That Grows Out of Hell Image 12
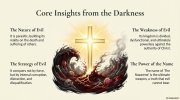 Scene 13 from Chapter 3: The Tree That Grows Out of Hell. This illustration depicts key spiritual events described in the text.
Chapter 3 The Tree That Grows Out of Hell Image 13
 Scene 14 from Chapter 3: The Tree That Grows Out of Hell. This illustration depicts key spiritual events described in the text.
Chapter 3 The Tree That Grows Out of Hell Image 14
 Scene 15 from Chapter 3: The Tree That Grows Out of Hell. This illustration depicts key spiritual events described in the text.
Chapter 3 The Tree That Grows Out of Hell Image 15
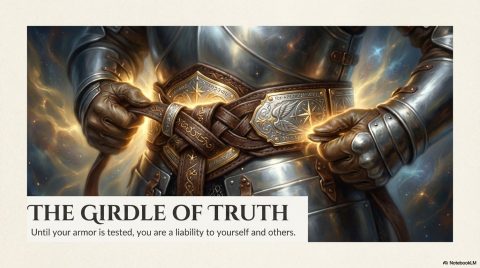 Scene 1 from Chapter 4: The Girdle of Truth. This illustration depicts key spiritual events described in the text.
Chapter 4 The Girdle of Truth Image 1
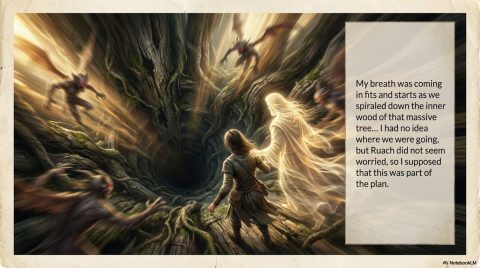 Scene 2 from Chapter 4: The Girdle of Truth. This illustration depicts key spiritual events described in the text.
Chapter 4 The Girdle of Truth Image 2
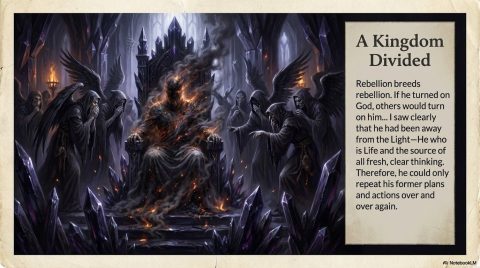 Scene 3 from Chapter 4: The Girdle of Truth. This illustration depicts key spiritual events described in the text.
Chapter 4 The Girdle of Truth Image 3
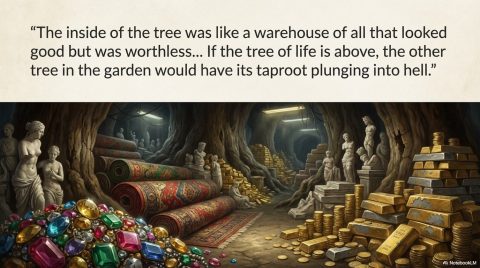 Scene 4 from Chapter 4: The Girdle of Truth. This illustration depicts key spiritual events described in the text.
Chapter 4 The Girdle of Truth Image 4
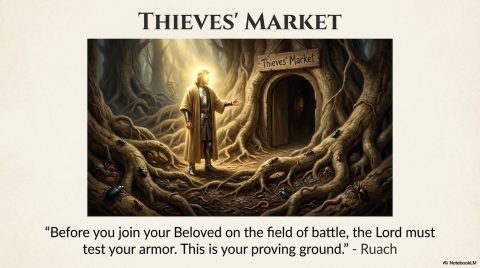 Scene 5 from Chapter 4: The Girdle of Truth. This illustration depicts key spiritual events described in the text.
Chapter 4 The Girdle of Truth Image 5
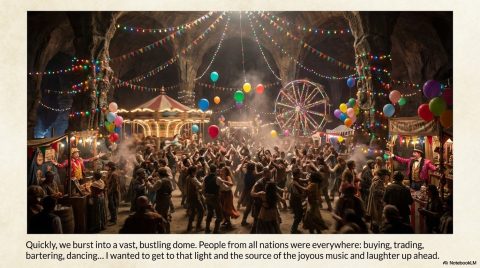 Scene 6 from Chapter 4: The Girdle of Truth. This illustration depicts key spiritual events described in the text.
Chapter 4 The Girdle of Truth Image 6
 Scene 7 from Chapter 4: The Girdle of Truth. This illustration depicts key spiritual events described in the text.
Chapter 4 The Girdle of Truth Image 7
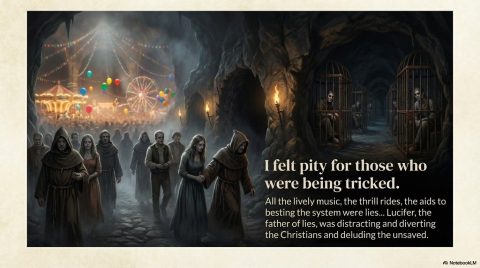 Scene 8 from Chapter 4: The Girdle of Truth. This illustration depicts key spiritual events described in the text.
Chapter 4 The Girdle of Truth Image 8
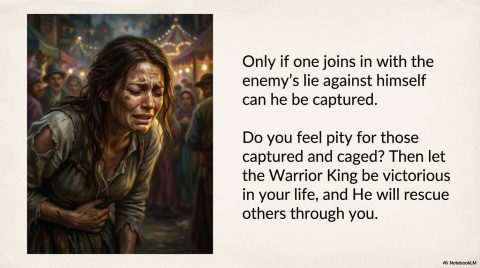 Scene 9 from Chapter 4: The Girdle of Truth. This illustration depicts key spiritual events described in the text.
Chapter 4 The Girdle of Truth Image 9
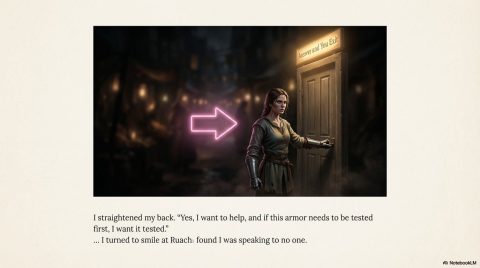 Scene 10 from Chapter 4: The Girdle of Truth. This illustration depicts key spiritual events described in the text.
Chapter 4 The Girdle of Truth Image 10
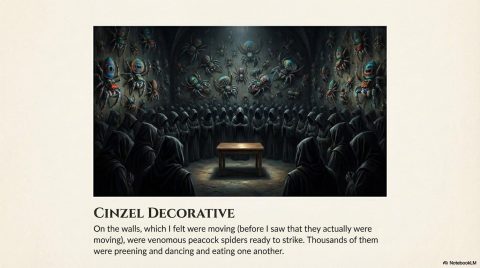 Scene 11 from Chapter 4: The Girdle of Truth. This illustration depicts key spiritual events described in the text.
Chapter 4 The Girdle of Truth Image 11
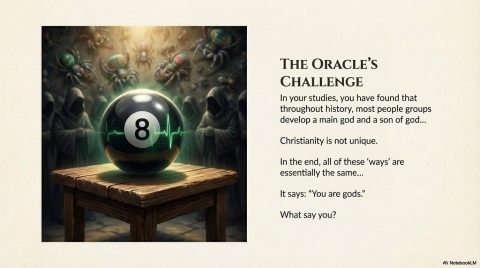 Scene 12 from Chapter 4: The Girdle of Truth. This illustration depicts key spiritual events described in the text.
Chapter 4 The Girdle of Truth Image 12
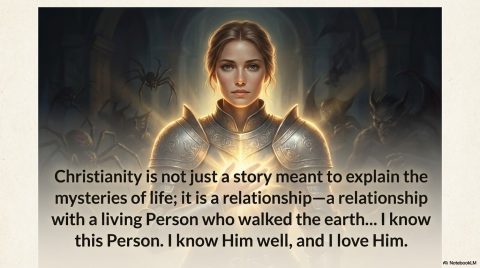 Scene 13 from Chapter 4: The Girdle of Truth. This illustration depicts key spiritual events described in the text.
Chapter 4 The Girdle of Truth Image 13
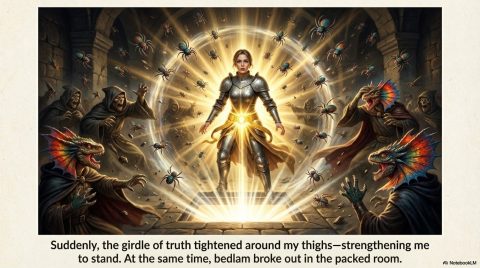 Scene 14 from Chapter 4: The Girdle of Truth. This illustration depicts key spiritual events described in the text.
Chapter 4 The Girdle of Truth Image 14
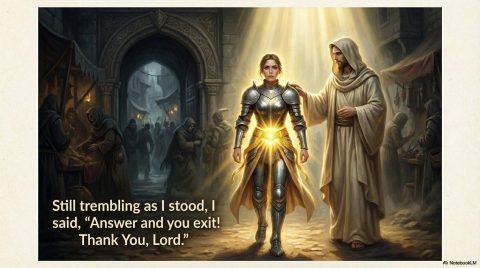 Scene 15 from Chapter 4: The Girdle of Truth. This illustration depicts key spiritual events described in the text.
Chapter 4 The Girdle of Truth Image 15
 Scene 1 from Chapter 5: The Breastplate of Righteousness Part 1. This illustration depicts key spiritual events described in the text.
Chapter 5 The Breastplate of Righteousness Part 1 Image 1
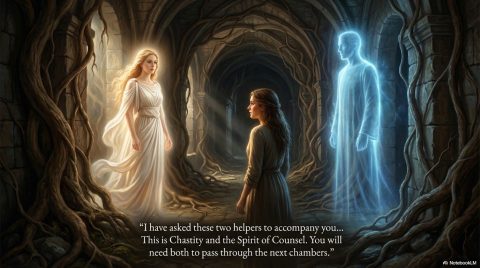 Scene 2 from Chapter 5: The Breastplate of Righteousness Part 1. This illustration depicts key spiritual events described in the text.
Chapter 5 The Breastplate of Righteousness Part 1 Image 2
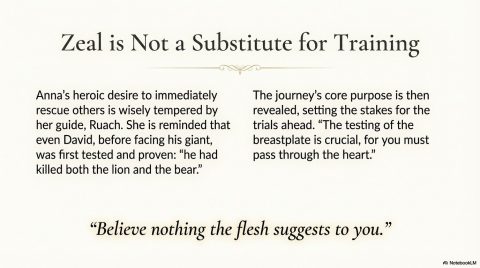 Scene 3 from Chapter 5: The Breastplate of Righteousness Part 1. This illustration depicts key spiritual events described in the text.
Chapter 5 The Breastplate of Righteousness Part 1 Image 3
 Scene 4 from Chapter 5: The Breastplate of Righteousness Part 1. This illustration depicts key spiritual events described in the text.
Chapter 5 The Breastplate of Righteousness Part 1 Image 4
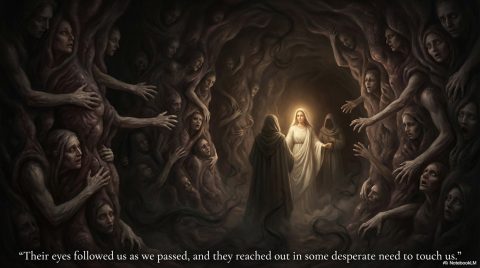 Scene 5 from Chapter 5: The Breastplate of Righteousness Part 1. This illustration depicts key spiritual events described in the text.
Chapter 5 The Breastplate of Righteousness Part 1 Image 5
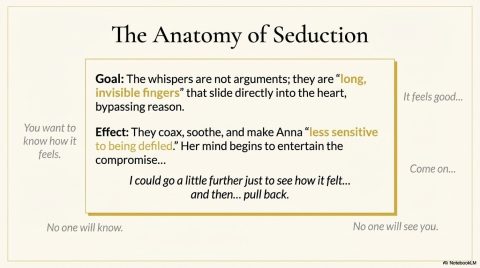 Scene 6 from Chapter 5: The Breastplate of Righteousness Part 1. This illustration depicts key spiritual events described in the text.
Chapter 5 The Breastplate of Righteousness Part 1 Image 6
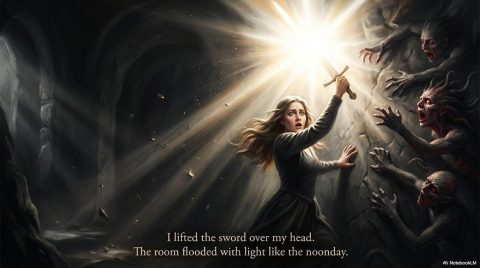 Scene 7 from Chapter 5: The Breastplate of Righteousness Part 1. This illustration depicts key spiritual events described in the text.
Chapter 5 The Breastplate of Righteousness Part 1 Image 7
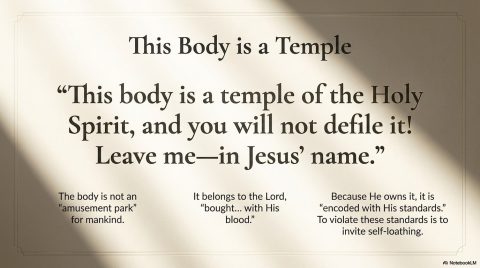 Scene 8 from Chapter 5: The Breastplate of Righteousness Part 1. This illustration depicts key spiritual events described in the text.
Chapter 5 The Breastplate of Righteousness Part 1 Image 8
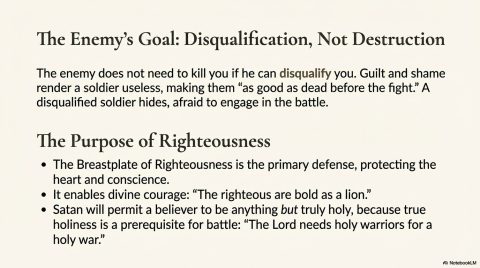 Scene 9 from Chapter 5: The Breastplate of Righteousness Part 1. This illustration depicts key spiritual events described in the text.
Chapter 5 The Breastplate of Righteousness Part 1 Image 9
 Scene 10 from Chapter 5: The Breastplate of Righteousness Part 1. This illustration depicts key spiritual events described in the text.
Chapter 5 The Breastplate of Righteousness Part 1 Image 10
 Scene 11 from Chapter 5: The Breastplate of Righteousness Part 1. This illustration depicts key spiritual events described in the text.
Chapter 5 The Breastplate of Righteousness Part 1 Image 11
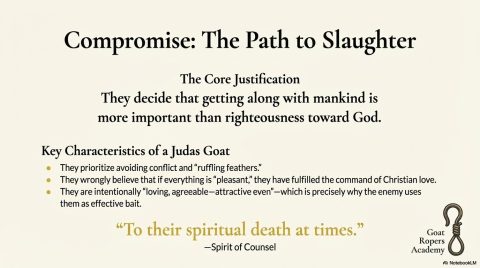 Scene 12 from Chapter 5: The Breastplate of Righteousness Part 1. This illustration depicts key spiritual events described in the text.
Chapter 5 The Breastplate of Righteousness Part 1 Image 12
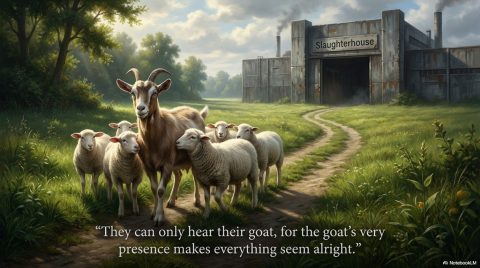 Scene 13 from Chapter 5: The Breastplate of Righteousness Part 1. This illustration depicts key spiritual events described in the text.
Chapter 5 The Breastplate of Righteousness Part 1 Image 13
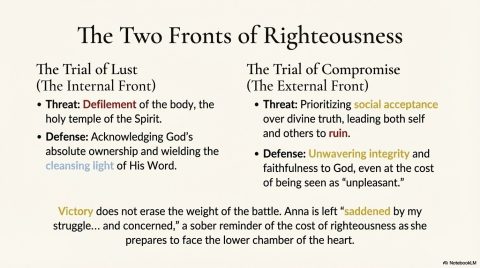 Scene 14 from Chapter 5: The Breastplate of Righteousness Part 1. This illustration depicts key spiritual events described in the text.
Chapter 5 The Breastplate of Righteousness Part 1 Image 14
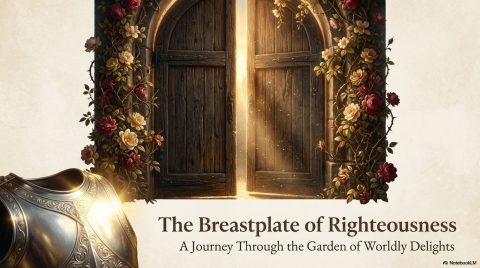 Scene 1 from Chapter 6: The Breastplate of Righteousness Part 2. This illustration depicts key spiritual events described in the text.
Chapter 6 The Breastplate of Righteousness Part 2 Image 1
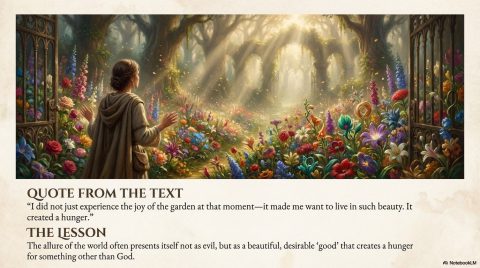 Scene 2 from Chapter 6: The Breastplate of Righteousness Part 2. This illustration depicts key spiritual events described in the text.
Chapter 6 The Breastplate of Righteousness Part 2 Image 2
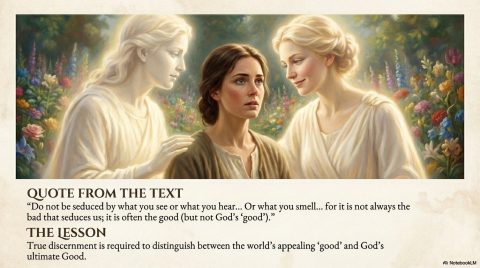 Scene 3 from Chapter 6: The Breastplate of Righteousness Part 2. This illustration depicts key spiritual events described in the text.
Chapter 6 The Breastplate of Righteousness Part 2 Image 3
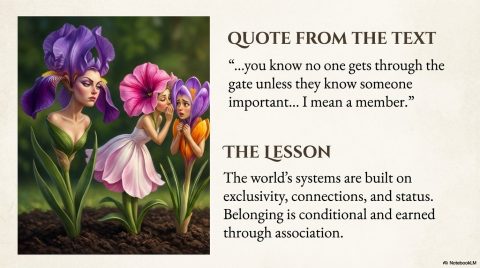 Scene 4 from Chapter 6: The Breastplate of Righteousness Part 2. This illustration depicts key spiritual events described in the text.
Chapter 6 The Breastplate of Righteousness Part 2 Image 4
 Scene 5 from Chapter 6: The Breastplate of Righteousness Part 2. This illustration depicts key spiritual events described in the text.
Chapter 6 The Breastplate of Righteousness Part 2 Image 5
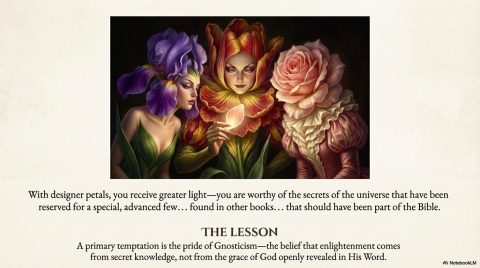 Scene 6 from Chapter 6: The Breastplate of Righteousness Part 2. This illustration depicts key spiritual events described in the text.
Chapter 6 The Breastplate of Righteousness Part 2 Image 6
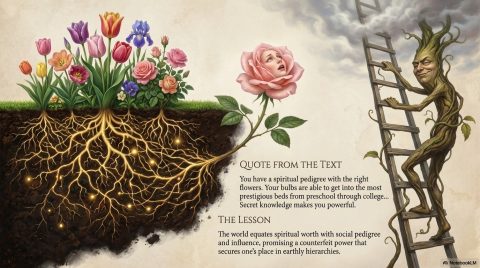 Scene 7 from Chapter 6: The Breastplate of Righteousness Part 2. This illustration depicts key spiritual events described in the text.
Chapter 6 The Breastplate of Righteousness Part 2 Image 7
 Scene 8 from Chapter 6: The Breastplate of Righteousness Part 2. This illustration depicts key spiritual events described in the text.
Chapter 6 The Breastplate of Righteousness Part 2 Image 8
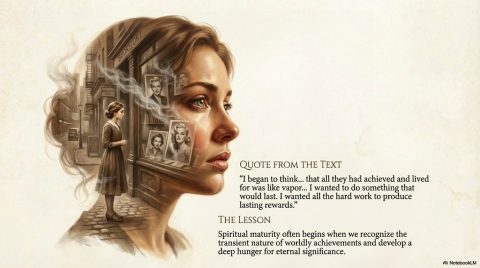 Scene 9 from Chapter 6: The Breastplate of Righteousness Part 2. This illustration depicts key spiritual events described in the text.
Chapter 6 The Breastplate of Righteousness Part 2 Image 9
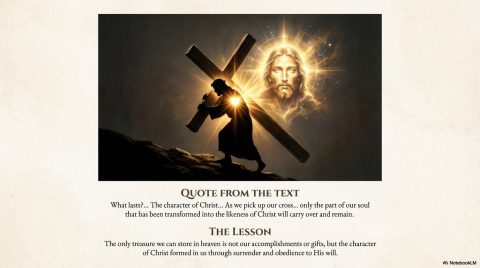 Scene 10 from Chapter 6: The Breastplate of Righteousness Part 2. This illustration depicts key spiritual events described in the text.
Chapter 6 The Breastplate of Righteousness Part 2 Image 10
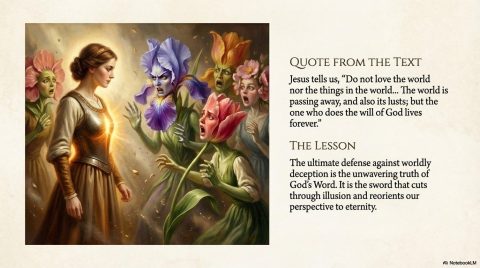 Scene 11 from Chapter 6: The Breastplate of Righteousness Part 2. This illustration depicts key spiritual events described in the text.
Chapter 6 The Breastplate of Righteousness Part 2 Image 11
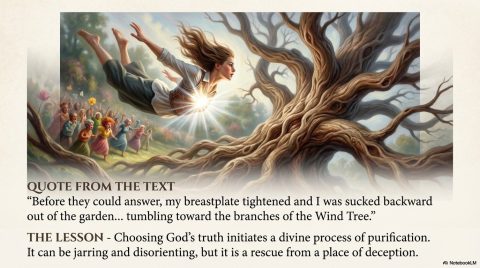 Scene 12 from Chapter 6: The Breastplate of Righteousness Part 2. This illustration depicts key spiritual events described in the text.
Chapter 6 The Breastplate of Righteousness Part 2 Image 12
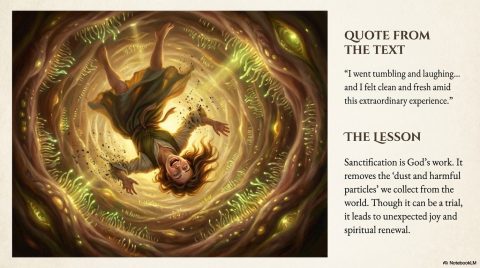 Scene 13 from Chapter 6: The Breastplate of Righteousness Part 2. This illustration depicts key spiritual events described in the text.
Chapter 6 The Breastplate of Righteousness Part 2 Image 13
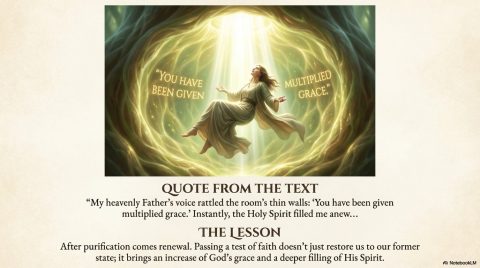 Scene 14 from Chapter 6: The Breastplate of Righteousness Part 2. This illustration depicts key spiritual events described in the text.
Chapter 6 The Breastplate of Righteousness Part 2 Image 14
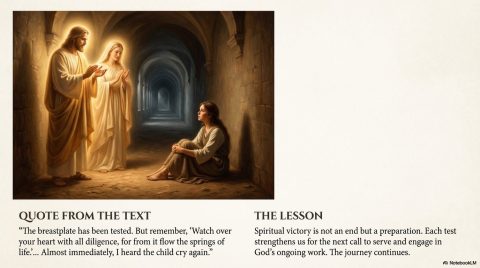 Scene 15 from Chapter 6: The Breastplate of Righteousness Part 2. This illustration depicts key spiritual events described in the text.
Chapter 6 The Breastplate of Righteousness Part 2 Image 15
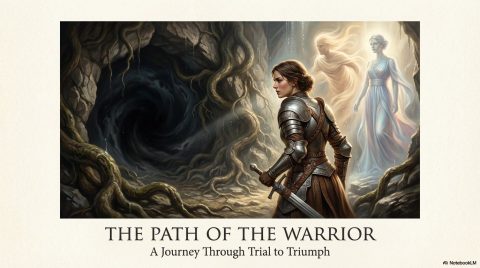 Scene 1 from Chapter 7: Shoes of the Gospel of Peace. This illustration depicts key spiritual events described in the text.
Chapter 7 Shoes of the Gospel of Peace Image 1
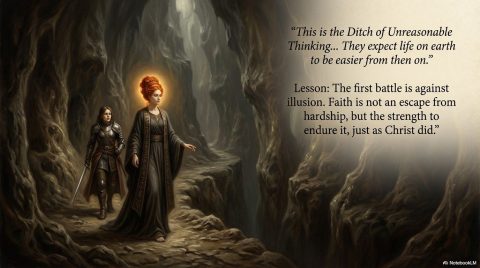 Scene 2 from Chapter 7: Shoes of the Gospel of Peace. This illustration depicts key spiritual events described in the text.
Chapter 7 Shoes of the Gospel of Peace Image 2
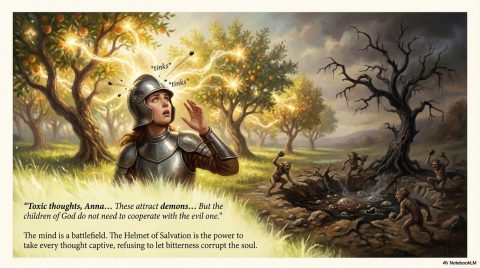 Scene 3 from Chapter 7: Shoes of the Gospel of Peace. This illustration depicts key spiritual events described in the text.
Chapter 7 Shoes of the Gospel of Peace Image 3
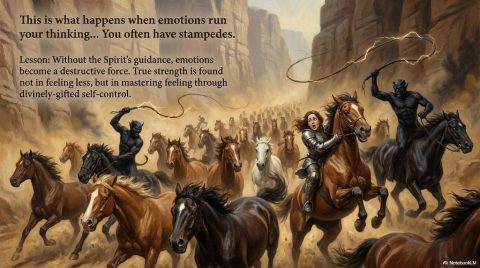 Scene 4 from Chapter 7: Shoes of the Gospel of Peace. This illustration depicts key spiritual events described in the text.
Chapter 7 Shoes of the Gospel of Peace Image 4
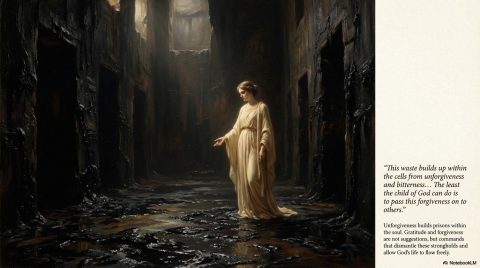 Scene 5 from Chapter 7: Shoes of the Gospel of Peace. This illustration depicts key spiritual events described in the text.
Chapter 7 Shoes of the Gospel of Peace Image 5
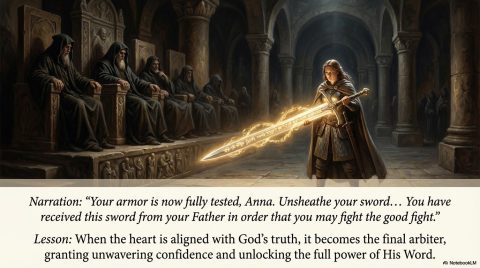 Scene 6 from Chapter 7: Shoes of the Gospel of Peace. This illustration depicts key spiritual events described in the text.
Chapter 7 Shoes of the Gospel of Peace Image 6
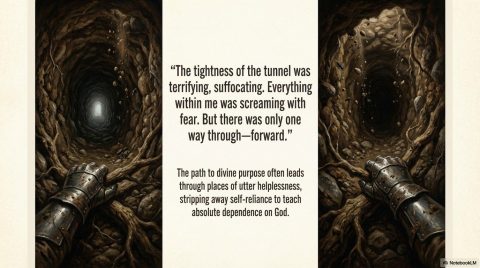 Scene 7 from Chapter 7: Shoes of the Gospel of Peace. This illustration depicts key spiritual events described in the text.
Chapter 7 Shoes of the Gospel of Peace Image 7
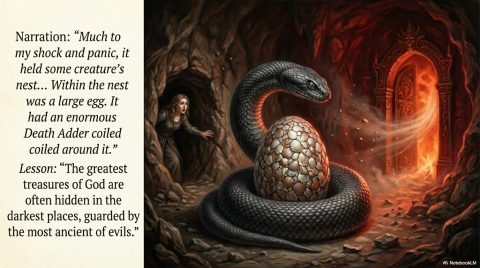 Scene 8 from Chapter 7: Shoes of the Gospel of Peace. This illustration depicts key spiritual events described in the text.
Chapter 7 Shoes of the Gospel of Peace Image 8
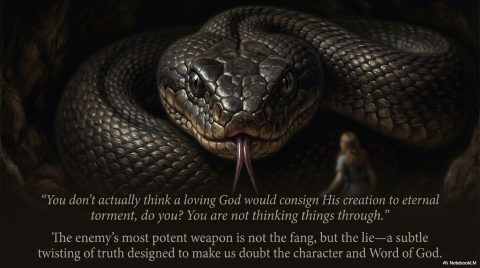 Scene 9 from Chapter 7: Shoes of the Gospel of Peace. This illustration depicts key spiritual events described in the text.
Chapter 7 Shoes of the Gospel of Peace Image 9
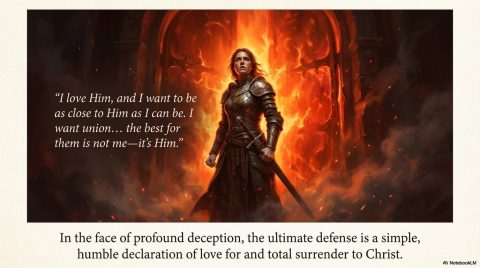 Scene 10 from Chapter 7: Shoes of the Gospel of Peace. This illustration depicts key spiritual events described in the text.
Chapter 7 Shoes of the Gospel of Peace Image 10
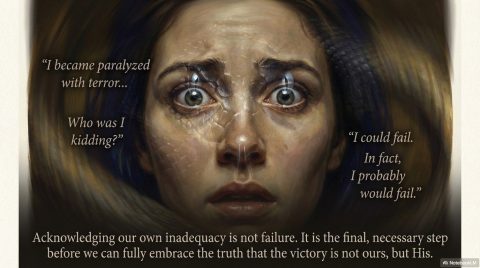 Scene 11 from Chapter 7: Shoes of the Gospel of Peace. This illustration depicts key spiritual events described in the text.
Chapter 7 Shoes of the Gospel of Peace Image 11
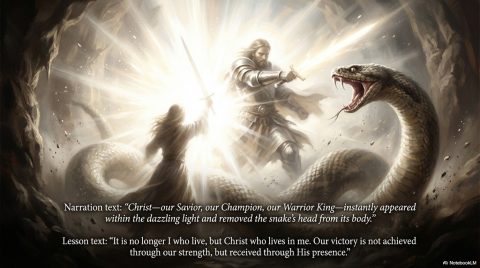 Scene 12 from Chapter 7: Shoes of the Gospel of Peace. This illustration depicts key spiritual events described in the text.
Chapter 7 Shoes of the Gospel of Peace Image 12
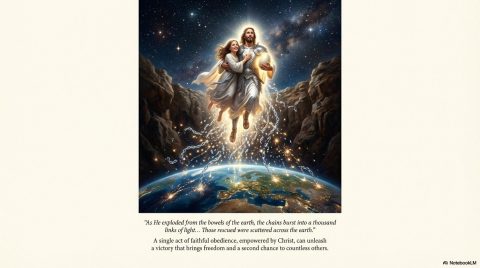 Scene 13 from Chapter 7: Shoes of the Gospel of Peace. This illustration depicts key spiritual events described in the text.
Chapter 7 Shoes of the Gospel of Peace Image 13
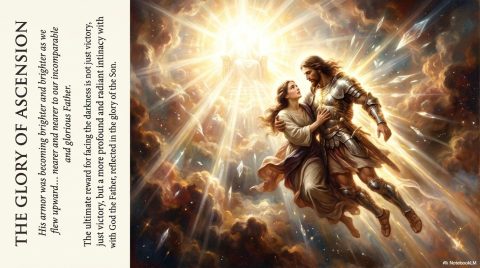 Scene 14 from Chapter 7: Shoes of the Gospel of Peace. This illustration depicts key spiritual events described in the text.
Chapter 7 Shoes of the Gospel of Peace Image 14
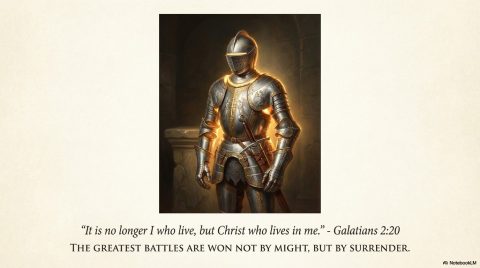 Scene 15 from Chapter 7: Shoes of the Gospel of Peace. This illustration depicts key spiritual events described in the text.
Chapter 7 Shoes of the Gospel of Peace Image 15
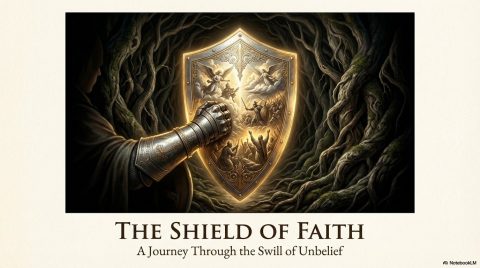 Scene 1 from Chapter 8: The Shield of Faith. This illustration depicts key spiritual events described in the text.
Chapter 8 The Shield of Faith Image 1
 Scene 2 from Chapter 8: The Shield of Faith. This illustration depicts key spiritual events described in the text.
Chapter 8 The Shield of Faith Image 2
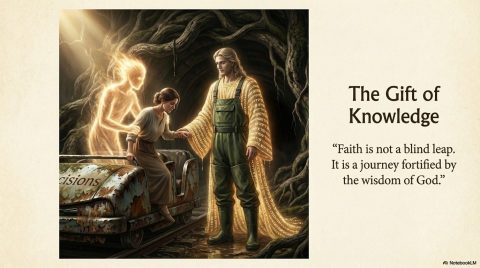 Scene 3 from Chapter 8: The Shield of Faith. This illustration depicts key spiritual events described in the text.
Chapter 8 The Shield of Faith Image 3
 Scene 4 from Chapter 8: The Shield of Faith. This illustration depicts key spiritual events described in the text.
Chapter 8 The Shield of Faith Image 4
 Scene 5 from Chapter 8: The Shield of Faith. This illustration depicts key spiritual events described in the text.
Chapter 8 The Shield of Faith Image 5
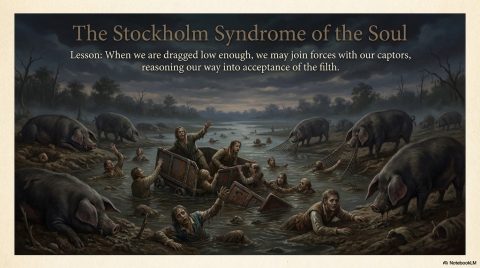 Scene 6 from Chapter 8: The Shield of Faith. This illustration depicts key spiritual events described in the text.
Chapter 8 The Shield of Faith Image 6
 Scene 7 from Chapter 8: The Shield of Faith. This illustration depicts key spiritual events described in the text.
Chapter 8 The Shield of Faith Image 7
 Scene 8 from Chapter 8: The Shield of Faith. This illustration depicts key spiritual events described in the text.
Chapter 8 The Shield of Faith Image 8
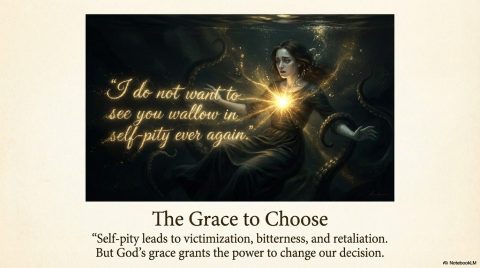 Scene 9 from Chapter 8: The Shield of Faith. This illustration depicts key spiritual events described in the text.
Chapter 8 The Shield of Faith Image 9
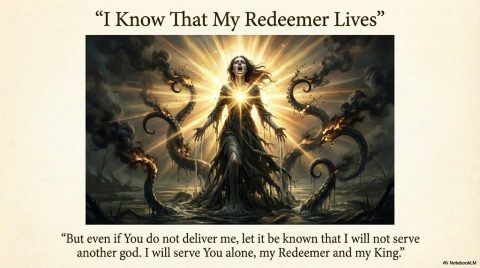 Scene 10 from Chapter 8: The Shield of Faith. This illustration depicts key spiritual events described in the text.
Chapter 8 The Shield of Faith Image 10
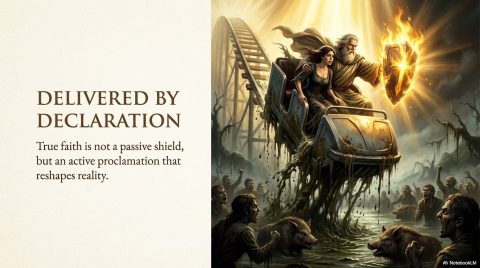 Scene 11 from Chapter 8: The Shield of Faith. This illustration depicts key spiritual events described in the text.
Chapter 8 The Shield of Faith Image 11
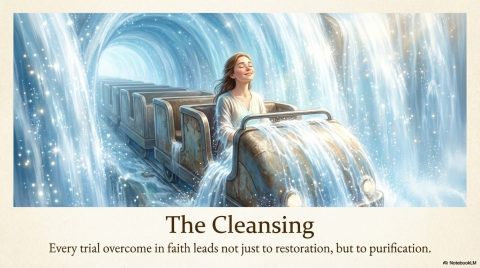 Scene 12 from Chapter 8: The Shield of Faith. This illustration depicts key spiritual events described in the text.
Chapter 8 The Shield of Faith Image 12
 Scene 13 from Chapter 8: The Shield of Faith. This illustration depicts key spiritual events described in the text.
Chapter 8 The Shield of Faith Image 13
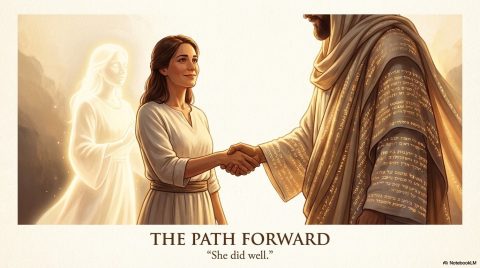 Scene 14 from Chapter 8: The Shield of Faith. This illustration depicts key spiritual events described in the text.
Chapter 8 The Shield of Faith Image 14
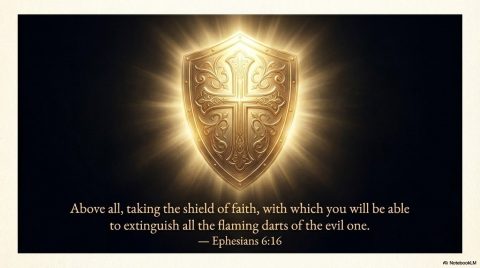 Scene 15 from Chapter 8: The Shield of Faith. This illustration depicts key spiritual events described in the text.
Chapter 8 The Shield of Faith Image 15
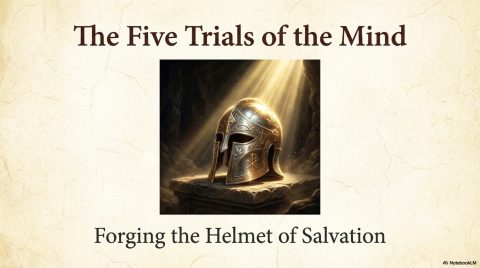 Scene 1 from Chapter 9: The Helmet of Salvation. This illustration depicts key spiritual events described in the text.
Chapter 9 The Helmet of Salvation Image 1
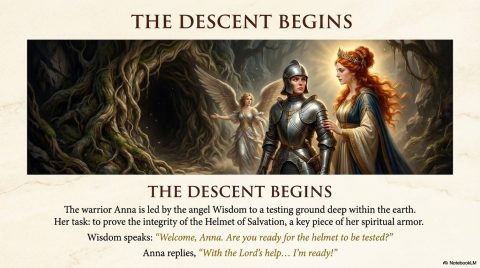 Scene 2 from Chapter 9: The Helmet of Salvation. This illustration depicts key spiritual events described in the text.
Chapter 9 The Helmet of Salvation Image 2
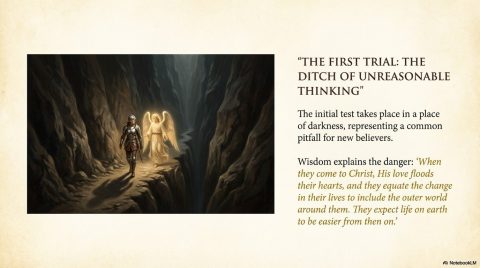 Scene 3 from Chapter 9: The Helmet of Salvation. This illustration depicts key spiritual events described in the text.
Chapter 9 The Helmet of Salvation Image 3
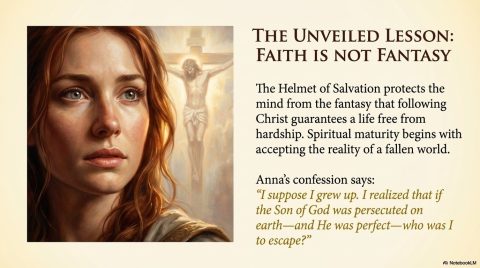 Scene 4 from Chapter 9: The Helmet of Salvation. This illustration depicts key spiritual events described in the text.
Chapter 9 The Helmet of Salvation Image 4
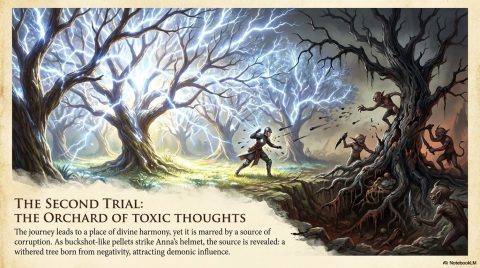 Scene 5 from Chapter 9: The Helmet of Salvation. This illustration depicts key spiritual events described in the text.
Chapter 9 The Helmet of Salvation Image 5
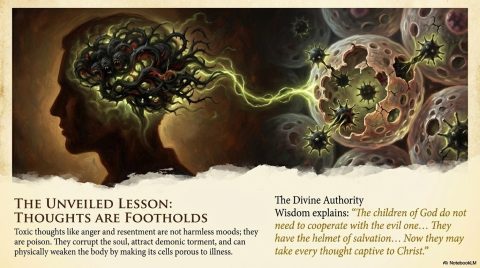 Scene 6 from Chapter 9: The Helmet of Salvation. This illustration depicts key spiritual events described in the text.
Chapter 9 The Helmet of Salvation Image 6
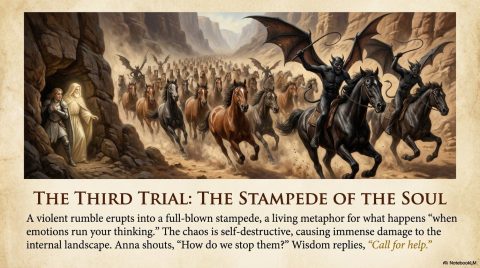 Scene 7 from Chapter 9: The Helmet of Salvation. This illustration depicts key spiritual events described in the text.
Chapter 9 The Helmet of Salvation Image 7
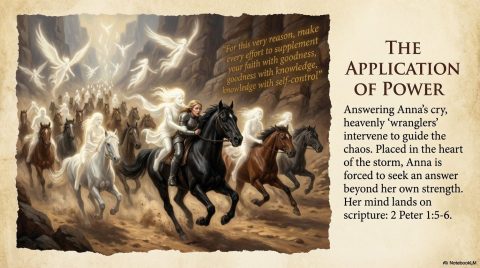 Scene 8 from Chapter 9: The Helmet of Salvation. This illustration depicts key spiritual events described in the text.
Chapter 9 The Helmet of Salvation Image 8
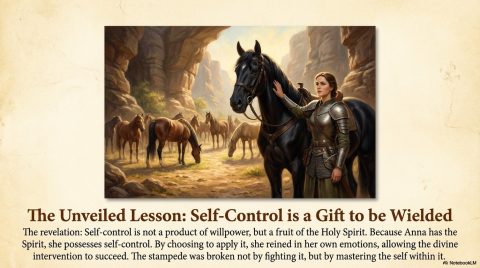 Scene 9 from Chapter 9: The Helmet of Salvation. This illustration depicts key spiritual events described in the text.
Chapter 9 The Helmet of Salvation Image 9
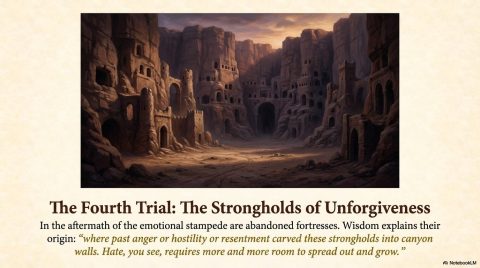 Scene 10 from Chapter 9: The Helmet of Salvation. This illustration depicts key spiritual events described in the text.
Chapter 9 The Helmet of Salvation Image 10
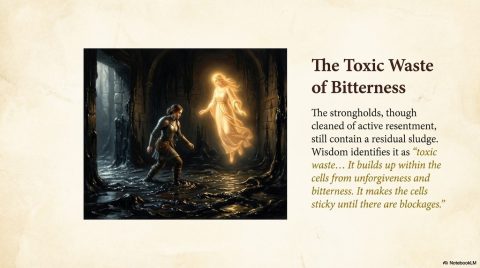 Scene 11 from Chapter 9: The Helmet of Salvation. This illustration depicts key spiritual events described in the text.
Chapter 9 The Helmet of Salvation Image 11
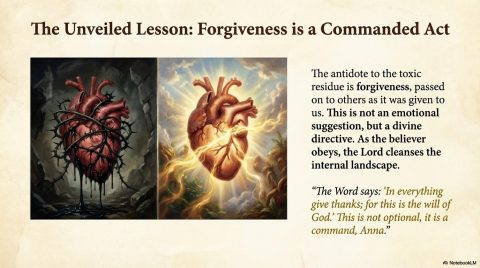 Scene 12 from Chapter 9: The Helmet of Salvation. This illustration depicts key spiritual events described in the text.
Chapter 9 The Helmet of Salvation Image 12
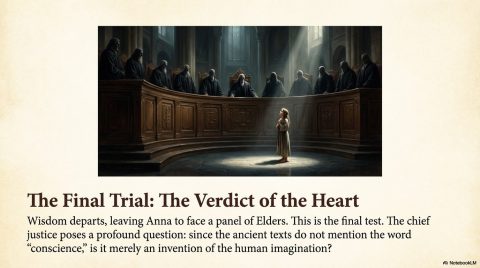 Scene 13 from Chapter 9: The Helmet of Salvation. This illustration depicts key spiritual events described in the text.
Chapter 9 The Helmet of Salvation Image 13
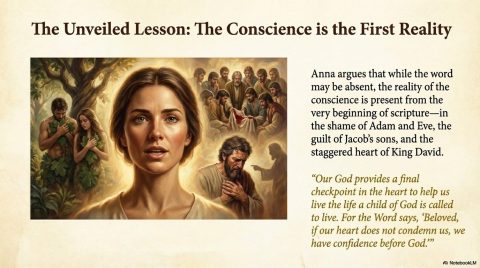 Scene 14 from Chapter 9: The Helmet of Salvation. This illustration depicts key spiritual events described in the text.
Chapter 9 The Helmet of Salvation Image 14
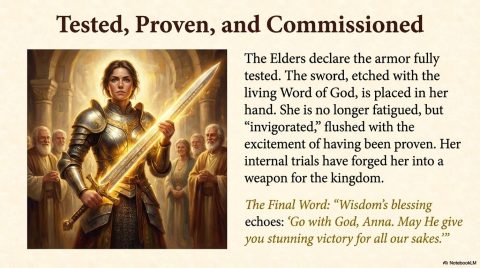 Scene 15 from Chapter 9: The Helmet of Salvation. This illustration depicts key spiritual events described in the text.
Chapter 9 The Helmet of Salvation Image 15
 Scene 1 from Chapter 10: The Death Adder. This illustration depicts key spiritual events described in the text.
Chapter 10 The Death Adder Image 1
 Scene 2 from Chapter 10: The Death Adder. This illustration depicts key spiritual events described in the text.
Chapter 10 The Death Adder Image 2
 Scene 3 from Chapter 10: The Death Adder. This illustration depicts key spiritual events described in the text.
Chapter 10 The Death Adder Image 3
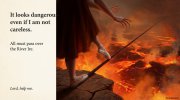 Scene 4 from Chapter 10: The Death Adder. This illustration depicts key spiritual events described in the text.
Chapter 10 The Death Adder Image 4
 Scene 5 from Chapter 10: The Death Adder. This illustration depicts key spiritual events described in the text.
Chapter 10 The Death Adder Image 5
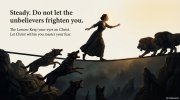 Scene 6 from Chapter 10: The Death Adder. This illustration depicts key spiritual events described in the text.
Chapter 10 The Death Adder Image 6
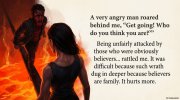 Scene 7 from Chapter 10: The Death Adder. This illustration depicts key spiritual events described in the text.
Chapter 10 The Death Adder Image 7
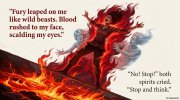 Scene 8 from Chapter 10: The Death Adder. This illustration depicts key spiritual events described in the text.
Chapter 10 The Death Adder Image 8
 Scene 9 from Chapter 10: The Death Adder. This illustration depicts key spiritual events described in the text.
Chapter 10 The Death Adder Image 9
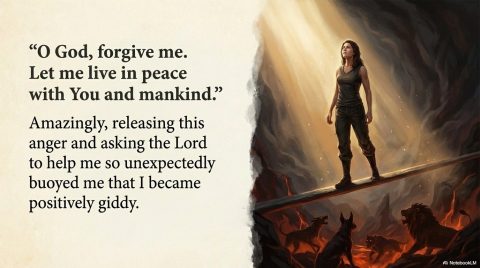 Scene 10 from Chapter 10: The Death Adder. This illustration depicts key spiritual events described in the text.
Chapter 10 The Death Adder Image 10
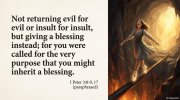 Scene 11 from Chapter 10: The Death Adder. This illustration depicts key spiritual events described in the text.
Chapter 10 The Death Adder Image 11
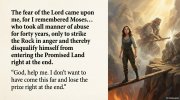 Scene 12 from Chapter 10: The Death Adder. This illustration depicts key spiritual events described in the text.
Chapter 10 The Death Adder Image 12
 Scene 13 from Chapter 10: The Death Adder. This illustration depicts key spiritual events described in the text.
Chapter 10 The Death Adder Image 13
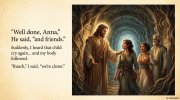 Scene 14 from Chapter 10: The Death Adder. This illustration depicts key spiritual events described in the text.
Chapter 10 The Death Adder Image 14
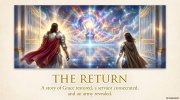 Scene 1 from Chapter 11: The Return. This illustration depicts key spiritual events described in the text.
Chapter 11 The Return Image 1
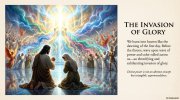 Scene 2 from Chapter 11: The Return. This illustration depicts key spiritual events described in the text.
Chapter 11 The Return Image 2
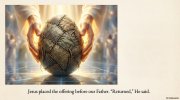 Scene 3 from Chapter 11: The Return. This illustration depicts key spiritual events described in the text.
Chapter 11 The Return Image 3
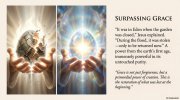 Scene 4 from Chapter 11: The Return. This illustration depicts key spiritual events described in the text.
Chapter 11 The Return Image 4
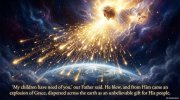 Scene 5 from Chapter 11: The Return. This illustration depicts key spiritual events described in the text.
Chapter 11 The Return Image 5
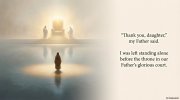 Scene 6 from Chapter 11: The Return. This illustration depicts key spiritual events described in the text.
Chapter 11 The Return Image 6
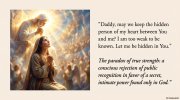 Scene 7 from Chapter 11: The Return. This illustration depicts key spiritual events described in the text.
Chapter 11 The Return Image 7
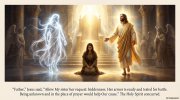 Scene 8 from Chapter 11: The Return. This illustration depicts key spiritual events described in the text.
Chapter 11 The Return Image 8
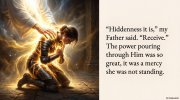 Scene 9 from Chapter 11: The Return. This illustration depicts key spiritual events described in the text.
Chapter 11 The Return Image 9
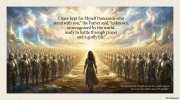 Scene 10 from Chapter 11: The Return. This illustration depicts key spiritual events described in the text.
Chapter 11 The Return Image 10
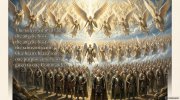 Scene 11 from Chapter 11: The Return. This illustration depicts key spiritual events described in the text.
Chapter 11 The Return Image 11
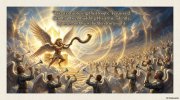 Scene 12 from Chapter 11: The Return. This illustration depicts key spiritual events described in the text.
Chapter 11 The Return Image 12
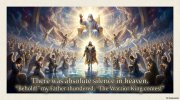 Scene 13 from Chapter 11: The Return. This illustration depicts key spiritual events described in the text.
Chapter 11 The Return Image 13
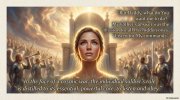 Scene 14 from Chapter 11: The Return. This illustration depicts key spiritual events described in the text.
Chapter 11 The Return Image 14
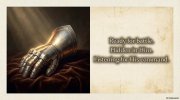 Scene 15 from Chapter 11: The Return. This illustration depicts key spiritual events described in the text.
Chapter 11 The Return Image 15
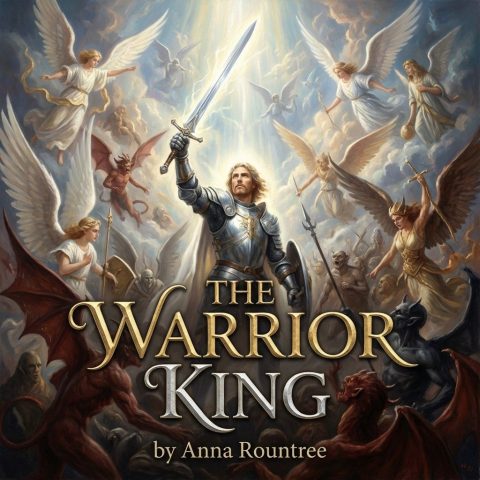 One of the official cover artworks for 'The Warrior King' by Anna Rountree.
cover
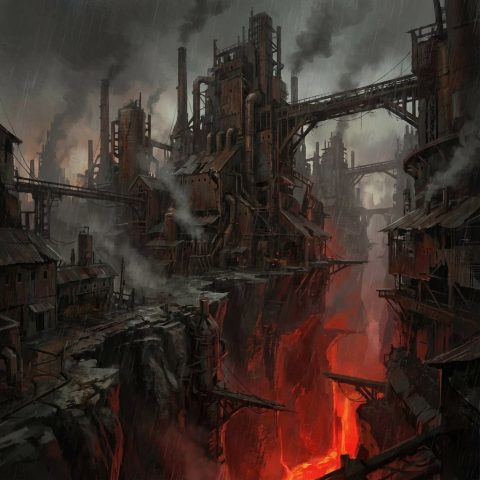 One of the official cover artworks for 'The Warrior King' by Anna Rountree.
Cover 1
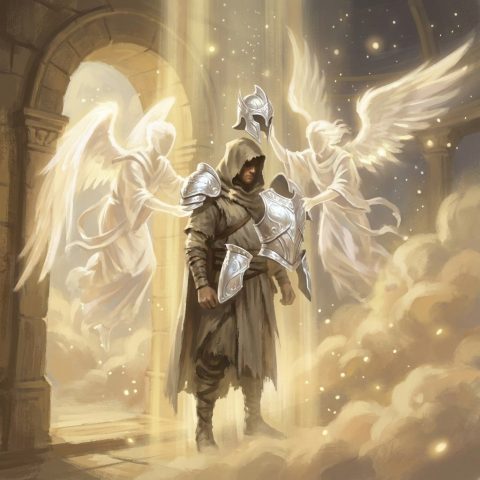 One of the official cover artworks for 'The Warrior King' by Anna Rountree.
Cover 2
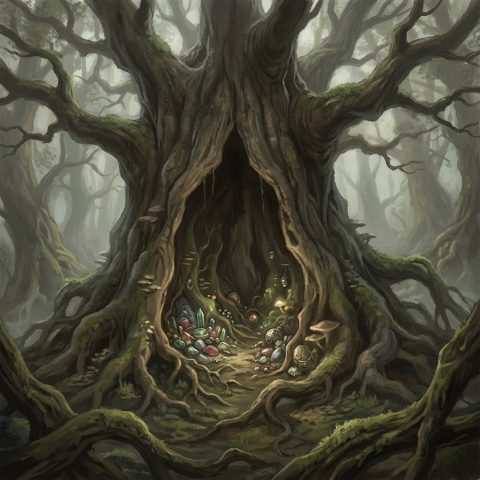 One of the official cover artworks for 'The Warrior King' by Anna Rountree.
Cover 3
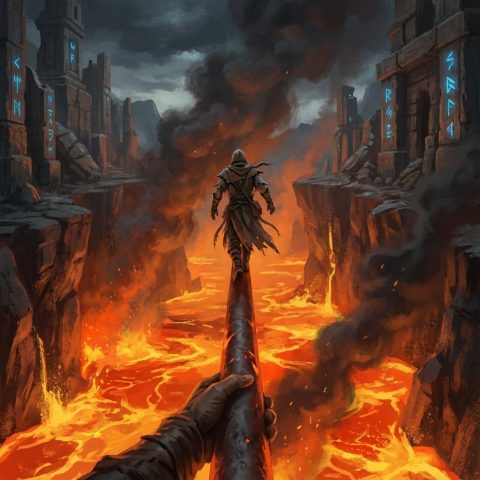 One of the official cover artworks for 'The Warrior King' by Anna Rountree.
Cover 4
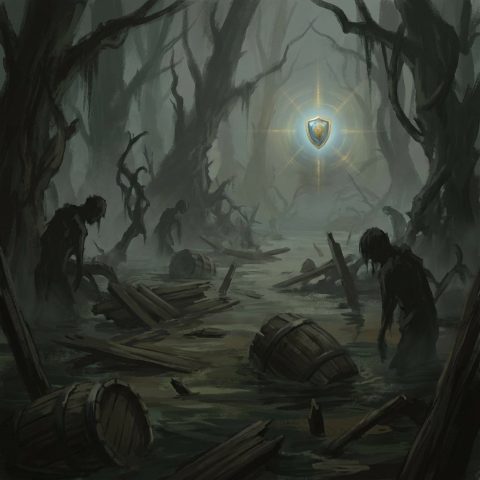 One of the official cover artworks for 'The Warrior King' by Anna Rountree.
Cover 5
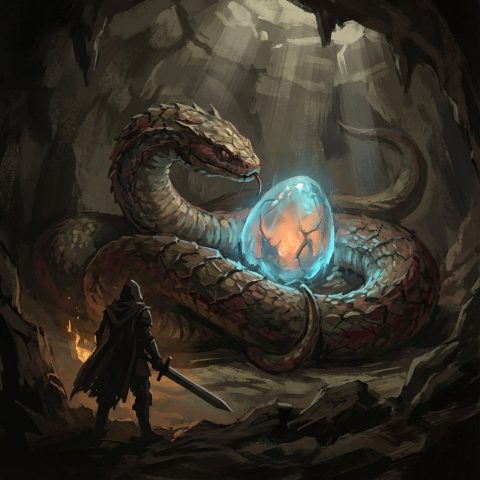 One of the official cover artworks for 'The Warrior King' by Anna Rountree.
Cover 6
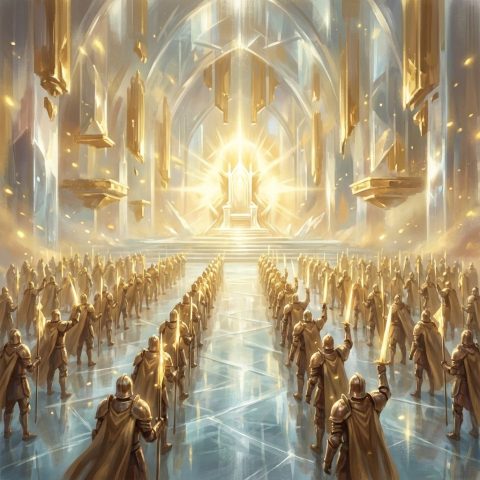 One of the official cover artworks for 'The Warrior King' by Anna Rountree.
Cover 7
.png)
unnamed (1)
.png)
unnamed (2)
.png)
unnamed (3)
.png)
unnamed (4)
.png)
unnamed (5)
.png)
unnamed (6)
.png)
unnamed (7)
.png)
unnamed (8)
.png)
unnamed (9)
.png)
unnamed (10)
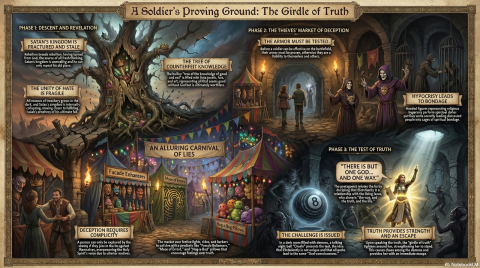
unnamed
Scene 1 from Chapter 1: Iron City. This illustration depicts key spiritual events described in the text.
Scene 2 from Chapter 1: Iron City. This illustration depicts key spiritual events described in the text.
Scene 3 from Chapter 1: Iron City. This illustration depicts key spiritual events described in the text.
Scene 4 from Chapter 1: Iron City. This illustration depicts key spiritual events described in the text.
Scene 5 from Chapter 1: Iron City. This illustration depicts key spiritual events described in the text.
Scene 6 from Chapter 1: Iron City. This illustration depicts key spiritual events described in the text.
Scene 7 from Chapter 1: Iron City. This illustration depicts key spiritual events described in the text.
Scene 8 from Chapter 1: Iron City. This illustration depicts key spiritual events described in the text.
Scene 9 from Chapter 1: Iron City. This illustration depicts key spiritual events described in the text.
Scene 10 from Chapter 1: Iron City. This illustration depicts key spiritual events described in the text.
Scene 11 from Chapter 1: Iron City. This illustration depicts key spiritual events described in the text.
Scene 12 from Chapter 1: Iron City. This illustration depicts key spiritual events described in the text.
Scene 13 from Chapter 1: Iron City. This illustration depicts key spiritual events described in the text.
Scene 14 from Chapter 1: Iron City. This illustration depicts key spiritual events described in the text.
Scene 15 from Chapter 1: Iron City. This illustration depicts key spiritual events described in the text.
Scene 1 from Chapter 2: The Commission. This illustration depicts key spiritual events described in the text.
Scene 2 from Chapter 2: The Commission. This illustration depicts key spiritual events described in the text.
Scene 3 from Chapter 2: The Commission. This illustration depicts key spiritual events described in the text.
Scene 4 from Chapter 2: The Commission. This illustration depicts key spiritual events described in the text.
Scene 5 from Chapter 2: The Commission. This illustration depicts key spiritual events described in the text.
Scene 6 from Chapter 2: The Commission. This illustration depicts key spiritual events described in the text.
Scene 7 from Chapter 2: The Commission. This illustration depicts key spiritual events described in the text.
Scene 8 from Chapter 2: The Commission. This illustration depicts key spiritual events described in the text.
Scene 9 from Chapter 2: The Commission. This illustration depicts key spiritual events described in the text.
Scene 10 from Chapter 2: The Commission. This illustration depicts key spiritual events described in the text.
Scene 11 from Chapter 2: The Commission. This illustration depicts key spiritual events described in the text.
Scene 12 from Chapter 2: The Commission. This illustration depicts key spiritual events described in the text.
Scene 13 from Chapter 2: The Commission. This illustration depicts key spiritual events described in the text.
Scene 14 from Chapter 2: The Commission. This illustration depicts key spiritual events described in the text.
Scene 1 from Chapter 3: The Tree That Grows Out of Hell. This illustration depicts key spiritual events described in the text.
Scene 2 from Chapter 3: The Tree That Grows Out of Hell. This illustration depicts key spiritual events described in the text.
Scene 3 from Chapter 3: The Tree That Grows Out of Hell. This illustration depicts key spiritual events described in the text.
Scene 4 from Chapter 3: The Tree That Grows Out of Hell. This illustration depicts key spiritual events described in the text.
Scene 5 from Chapter 3: The Tree That Grows Out of Hell. This illustration depicts key spiritual events described in the text.
Scene 6 from Chapter 3: The Tree That Grows Out of Hell. This illustration depicts key spiritual events described in the text.
Scene 7 from Chapter 3: The Tree That Grows Out of Hell. This illustration depicts key spiritual events described in the text.
Scene 8 from Chapter 3: The Tree That Grows Out of Hell. This illustration depicts key spiritual events described in the text.
Scene 9 from Chapter 3: The Tree That Grows Out of Hell. This illustration depicts key spiritual events described in the text.
Scene 10 from Chapter 3: The Tree That Grows Out of Hell. This illustration depicts key spiritual events described in the text.
Scene 11 from Chapter 3: The Tree That Grows Out of Hell. This illustration depicts key spiritual events described in the text.
Scene 12 from Chapter 3: The Tree That Grows Out of Hell. This illustration depicts key spiritual events described in the text.
Scene 13 from Chapter 3: The Tree That Grows Out of Hell. This illustration depicts key spiritual events described in the text.
Scene 14 from Chapter 3: The Tree That Grows Out of Hell. This illustration depicts key spiritual events described in the text.
Scene 15 from Chapter 3: The Tree That Grows Out of Hell. This illustration depicts key spiritual events described in the text.
Scene 1 from Chapter 4: The Girdle of Truth. This illustration depicts key spiritual events described in the text.
Scene 2 from Chapter 4: The Girdle of Truth. This illustration depicts key spiritual events described in the text.
Scene 3 from Chapter 4: The Girdle of Truth. This illustration depicts key spiritual events described in the text.
Scene 4 from Chapter 4: The Girdle of Truth. This illustration depicts key spiritual events described in the text.
Scene 5 from Chapter 4: The Girdle of Truth. This illustration depicts key spiritual events described in the text.
Scene 6 from Chapter 4: The Girdle of Truth. This illustration depicts key spiritual events described in the text.
Scene 7 from Chapter 4: The Girdle of Truth. This illustration depicts key spiritual events described in the text.
Scene 8 from Chapter 4: The Girdle of Truth. This illustration depicts key spiritual events described in the text.
Scene 9 from Chapter 4: The Girdle of Truth. This illustration depicts key spiritual events described in the text.
Scene 10 from Chapter 4: The Girdle of Truth. This illustration depicts key spiritual events described in the text.
Scene 11 from Chapter 4: The Girdle of Truth. This illustration depicts key spiritual events described in the text.
Scene 12 from Chapter 4: The Girdle of Truth. This illustration depicts key spiritual events described in the text.
Scene 13 from Chapter 4: The Girdle of Truth. This illustration depicts key spiritual events described in the text.
Scene 14 from Chapter 4: The Girdle of Truth. This illustration depicts key spiritual events described in the text.
Scene 15 from Chapter 4: The Girdle of Truth. This illustration depicts key spiritual events described in the text.
Scene 1 from Chapter 5: The Breastplate of Righteousness Part 1. This illustration depicts key spiritual events described in the text.
Scene 2 from Chapter 5: The Breastplate of Righteousness Part 1. This illustration depicts key spiritual events described in the text.
Scene 3 from Chapter 5: The Breastplate of Righteousness Part 1. This illustration depicts key spiritual events described in the text.
Scene 4 from Chapter 5: The Breastplate of Righteousness Part 1. This illustration depicts key spiritual events described in the text.
Scene 5 from Chapter 5: The Breastplate of Righteousness Part 1. This illustration depicts key spiritual events described in the text.
Scene 6 from Chapter 5: The Breastplate of Righteousness Part 1. This illustration depicts key spiritual events described in the text.
Scene 7 from Chapter 5: The Breastplate of Righteousness Part 1. This illustration depicts key spiritual events described in the text.
Scene 8 from Chapter 5: The Breastplate of Righteousness Part 1. This illustration depicts key spiritual events described in the text.
Scene 9 from Chapter 5: The Breastplate of Righteousness Part 1. This illustration depicts key spiritual events described in the text.
Scene 10 from Chapter 5: The Breastplate of Righteousness Part 1. This illustration depicts key spiritual events described in the text.
Scene 11 from Chapter 5: The Breastplate of Righteousness Part 1. This illustration depicts key spiritual events described in the text.
Scene 12 from Chapter 5: The Breastplate of Righteousness Part 1. This illustration depicts key spiritual events described in the text.
Scene 13 from Chapter 5: The Breastplate of Righteousness Part 1. This illustration depicts key spiritual events described in the text.
Scene 14 from Chapter 5: The Breastplate of Righteousness Part 1. This illustration depicts key spiritual events described in the text.
Scene 1 from Chapter 6: The Breastplate of Righteousness Part 2. This illustration depicts key spiritual events described in the text.
Scene 2 from Chapter 6: The Breastplate of Righteousness Part 2. This illustration depicts key spiritual events described in the text.
Scene 3 from Chapter 6: The Breastplate of Righteousness Part 2. This illustration depicts key spiritual events described in the text.
Scene 4 from Chapter 6: The Breastplate of Righteousness Part 2. This illustration depicts key spiritual events described in the text.
Scene 5 from Chapter 6: The Breastplate of Righteousness Part 2. This illustration depicts key spiritual events described in the text.
Scene 6 from Chapter 6: The Breastplate of Righteousness Part 2. This illustration depicts key spiritual events described in the text.
Scene 7 from Chapter 6: The Breastplate of Righteousness Part 2. This illustration depicts key spiritual events described in the text.
Scene 8 from Chapter 6: The Breastplate of Righteousness Part 2. This illustration depicts key spiritual events described in the text.
Scene 9 from Chapter 6: The Breastplate of Righteousness Part 2. This illustration depicts key spiritual events described in the text.
Scene 10 from Chapter 6: The Breastplate of Righteousness Part 2. This illustration depicts key spiritual events described in the text.
Scene 11 from Chapter 6: The Breastplate of Righteousness Part 2. This illustration depicts key spiritual events described in the text.
Scene 12 from Chapter 6: The Breastplate of Righteousness Part 2. This illustration depicts key spiritual events described in the text.
Scene 13 from Chapter 6: The Breastplate of Righteousness Part 2. This illustration depicts key spiritual events described in the text.
Scene 14 from Chapter 6: The Breastplate of Righteousness Part 2. This illustration depicts key spiritual events described in the text.
Scene 15 from Chapter 6: The Breastplate of Righteousness Part 2. This illustration depicts key spiritual events described in the text.
Scene 1 from Chapter 7: Shoes of the Gospel of Peace. This illustration depicts key spiritual events described in the text.
Scene 2 from Chapter 7: Shoes of the Gospel of Peace. This illustration depicts key spiritual events described in the text.
Scene 3 from Chapter 7: Shoes of the Gospel of Peace. This illustration depicts key spiritual events described in the text.
Scene 4 from Chapter 7: Shoes of the Gospel of Peace. This illustration depicts key spiritual events described in the text.
Scene 5 from Chapter 7: Shoes of the Gospel of Peace. This illustration depicts key spiritual events described in the text.
Scene 6 from Chapter 7: Shoes of the Gospel of Peace. This illustration depicts key spiritual events described in the text.
Scene 7 from Chapter 7: Shoes of the Gospel of Peace. This illustration depicts key spiritual events described in the text.
Scene 8 from Chapter 7: Shoes of the Gospel of Peace. This illustration depicts key spiritual events described in the text.
Scene 9 from Chapter 7: Shoes of the Gospel of Peace. This illustration depicts key spiritual events described in the text.
Scene 10 from Chapter 7: Shoes of the Gospel of Peace. This illustration depicts key spiritual events described in the text.
Scene 11 from Chapter 7: Shoes of the Gospel of Peace. This illustration depicts key spiritual events described in the text.
Scene 12 from Chapter 7: Shoes of the Gospel of Peace. This illustration depicts key spiritual events described in the text.
Scene 13 from Chapter 7: Shoes of the Gospel of Peace. This illustration depicts key spiritual events described in the text.
Scene 14 from Chapter 7: Shoes of the Gospel of Peace. This illustration depicts key spiritual events described in the text.
Scene 15 from Chapter 7: Shoes of the Gospel of Peace. This illustration depicts key spiritual events described in the text.
Scene 1 from Chapter 8: The Shield of Faith. This illustration depicts key spiritual events described in the text.
Scene 2 from Chapter 8: The Shield of Faith. This illustration depicts key spiritual events described in the text.
Scene 3 from Chapter 8: The Shield of Faith. This illustration depicts key spiritual events described in the text.
Scene 4 from Chapter 8: The Shield of Faith. This illustration depicts key spiritual events described in the text.
Scene 5 from Chapter 8: The Shield of Faith. This illustration depicts key spiritual events described in the text.
Scene 6 from Chapter 8: The Shield of Faith. This illustration depicts key spiritual events described in the text.
Scene 7 from Chapter 8: The Shield of Faith. This illustration depicts key spiritual events described in the text.
Scene 8 from Chapter 8: The Shield of Faith. This illustration depicts key spiritual events described in the text.
Scene 9 from Chapter 8: The Shield of Faith. This illustration depicts key spiritual events described in the text.
Scene 10 from Chapter 8: The Shield of Faith. This illustration depicts key spiritual events described in the text.
Scene 11 from Chapter 8: The Shield of Faith. This illustration depicts key spiritual events described in the text.
Scene 12 from Chapter 8: The Shield of Faith. This illustration depicts key spiritual events described in the text.
Scene 13 from Chapter 8: The Shield of Faith. This illustration depicts key spiritual events described in the text.
Scene 14 from Chapter 8: The Shield of Faith. This illustration depicts key spiritual events described in the text.
Scene 15 from Chapter 8: The Shield of Faith. This illustration depicts key spiritual events described in the text.
Scene 1 from Chapter 9: The Helmet of Salvation. This illustration depicts key spiritual events described in the text.
Scene 2 from Chapter 9: The Helmet of Salvation. This illustration depicts key spiritual events described in the text.
Scene 3 from Chapter 9: The Helmet of Salvation. This illustration depicts key spiritual events described in the text.
Scene 4 from Chapter 9: The Helmet of Salvation. This illustration depicts key spiritual events described in the text.
Scene 5 from Chapter 9: The Helmet of Salvation. This illustration depicts key spiritual events described in the text.
Scene 6 from Chapter 9: The Helmet of Salvation. This illustration depicts key spiritual events described in the text.
Scene 7 from Chapter 9: The Helmet of Salvation. This illustration depicts key spiritual events described in the text.
Scene 8 from Chapter 9: The Helmet of Salvation. This illustration depicts key spiritual events described in the text.
Scene 9 from Chapter 9: The Helmet of Salvation. This illustration depicts key spiritual events described in the text.
Scene 10 from Chapter 9: The Helmet of Salvation. This illustration depicts key spiritual events described in the text.
Scene 11 from Chapter 9: The Helmet of Salvation. This illustration depicts key spiritual events described in the text.
Scene 12 from Chapter 9: The Helmet of Salvation. This illustration depicts key spiritual events described in the text.
Scene 13 from Chapter 9: The Helmet of Salvation. This illustration depicts key spiritual events described in the text.
Scene 14 from Chapter 9: The Helmet of Salvation. This illustration depicts key spiritual events described in the text.
Scene 15 from Chapter 9: The Helmet of Salvation. This illustration depicts key spiritual events described in the text.
Scene 1 from Chapter 10: The Death Adder. This illustration depicts key spiritual events described in the text.
Scene 2 from Chapter 10: The Death Adder. This illustration depicts key spiritual events described in the text.
Scene 3 from Chapter 10: The Death Adder. This illustration depicts key spiritual events described in the text.
Scene 4 from Chapter 10: The Death Adder. This illustration depicts key spiritual events described in the text.
Scene 5 from Chapter 10: The Death Adder. This illustration depicts key spiritual events described in the text.
Scene 6 from Chapter 10: The Death Adder. This illustration depicts key spiritual events described in the text.
Scene 7 from Chapter 10: The Death Adder. This illustration depicts key spiritual events described in the text.
Scene 8 from Chapter 10: The Death Adder. This illustration depicts key spiritual events described in the text.
Scene 9 from Chapter 10: The Death Adder. This illustration depicts key spiritual events described in the text.
Scene 10 from Chapter 10: The Death Adder. This illustration depicts key spiritual events described in the text.
Scene 11 from Chapter 10: The Death Adder. This illustration depicts key spiritual events described in the text.
Scene 12 from Chapter 10: The Death Adder. This illustration depicts key spiritual events described in the text.
Scene 13 from Chapter 10: The Death Adder. This illustration depicts key spiritual events described in the text.
Scene 14 from Chapter 10: The Death Adder. This illustration depicts key spiritual events described in the text.
Scene 1 from Chapter 11: The Return. This illustration depicts key spiritual events described in the text.
Scene 2 from Chapter 11: The Return. This illustration depicts key spiritual events described in the text.
Scene 3 from Chapter 11: The Return. This illustration depicts key spiritual events described in the text.
Scene 4 from Chapter 11: The Return. This illustration depicts key spiritual events described in the text.
Scene 5 from Chapter 11: The Return. This illustration depicts key spiritual events described in the text.
Scene 6 from Chapter 11: The Return. This illustration depicts key spiritual events described in the text.
Scene 7 from Chapter 11: The Return. This illustration depicts key spiritual events described in the text.
Scene 8 from Chapter 11: The Return. This illustration depicts key spiritual events described in the text.
Scene 9 from Chapter 11: The Return. This illustration depicts key spiritual events described in the text.
Scene 10 from Chapter 11: The Return. This illustration depicts key spiritual events described in the text.
Scene 11 from Chapter 11: The Return. This illustration depicts key spiritual events described in the text.
Scene 12 from Chapter 11: The Return. This illustration depicts key spiritual events described in the text.
Scene 13 from Chapter 11: The Return. This illustration depicts key spiritual events described in the text.
Scene 14 from Chapter 11: The Return. This illustration depicts key spiritual events described in the text.
Scene 15 from Chapter 11: The Return. This illustration depicts key spiritual events described in the text.
One of the official cover artworks for 'The Warrior King' by Anna Rountree.
One of the official cover artworks for 'The Warrior King' by Anna Rountree.
One of the official cover artworks for 'The Warrior King' by Anna Rountree.
One of the official cover artworks for 'The Warrior King' by Anna Rountree.
One of the official cover artworks for 'The Warrior King' by Anna Rountree.
One of the official cover artworks for 'The Warrior King' by Anna Rountree.
One of the official cover artworks for 'The Warrior King' by Anna Rountree.
One of the official cover artworks for 'The Warrior King' by Anna Rountree.